Changing the Color of Parts
Changing the Color of Parts
To Change the Color of Parts
Select a part or parts that you want to change the color of.
Show the 3D Properties pane, if necessary, by selecting the 3D Properties checkbox from the Panes panel in the View tab of the Ribbon.
Select the Color under the General in the 3D Properties pane.
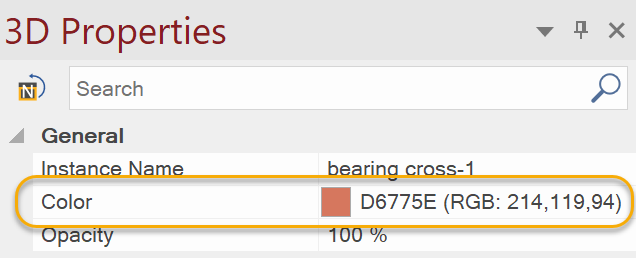
Click on the pop-up icon
 .
.Select a new color from the Recent Colors or Standard Colors. If necessary, select Other and define a new color.
Click at blank area in the viewport to deselect.
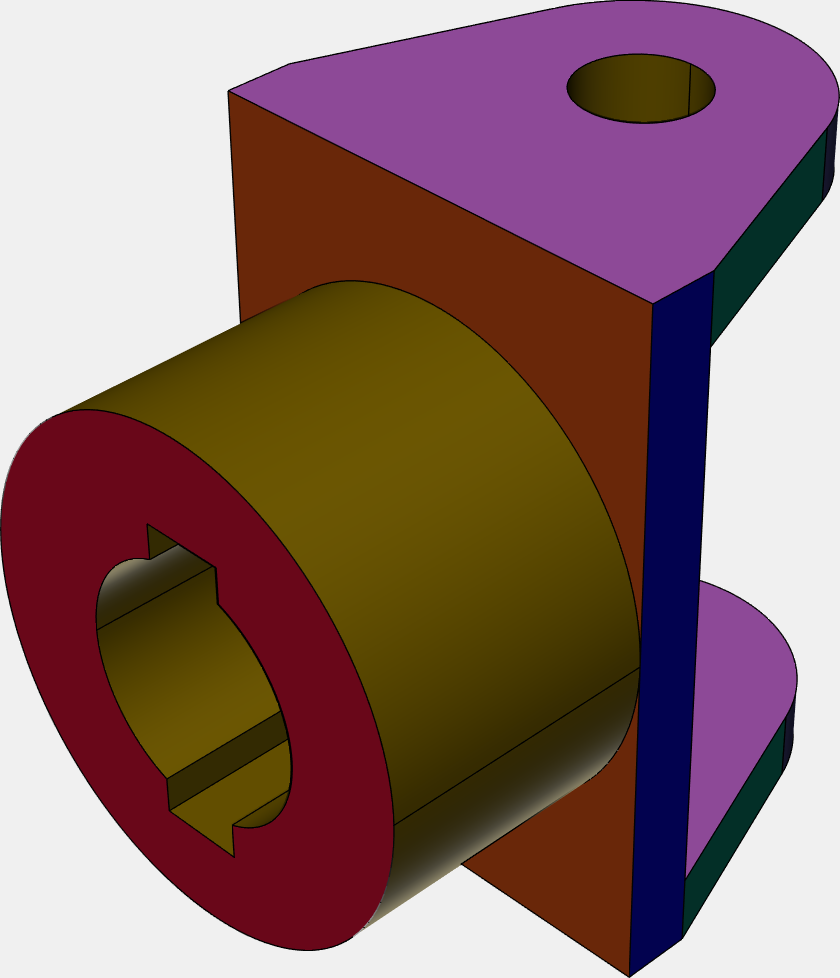
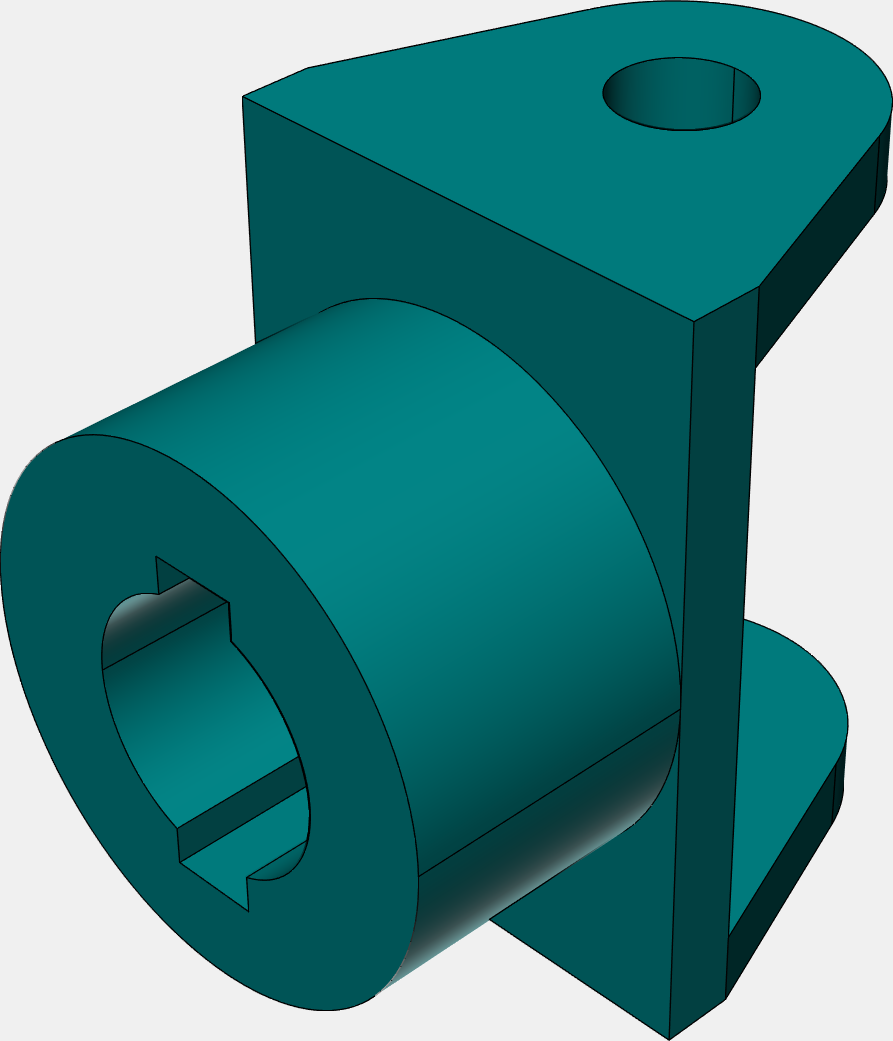
Before | After |
|
|
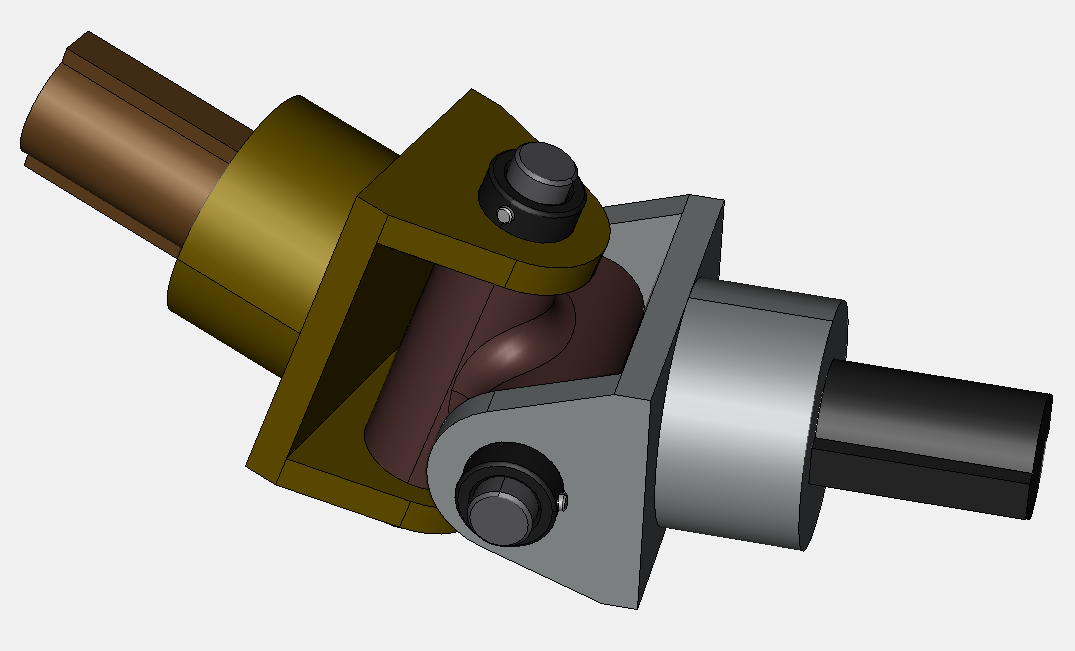
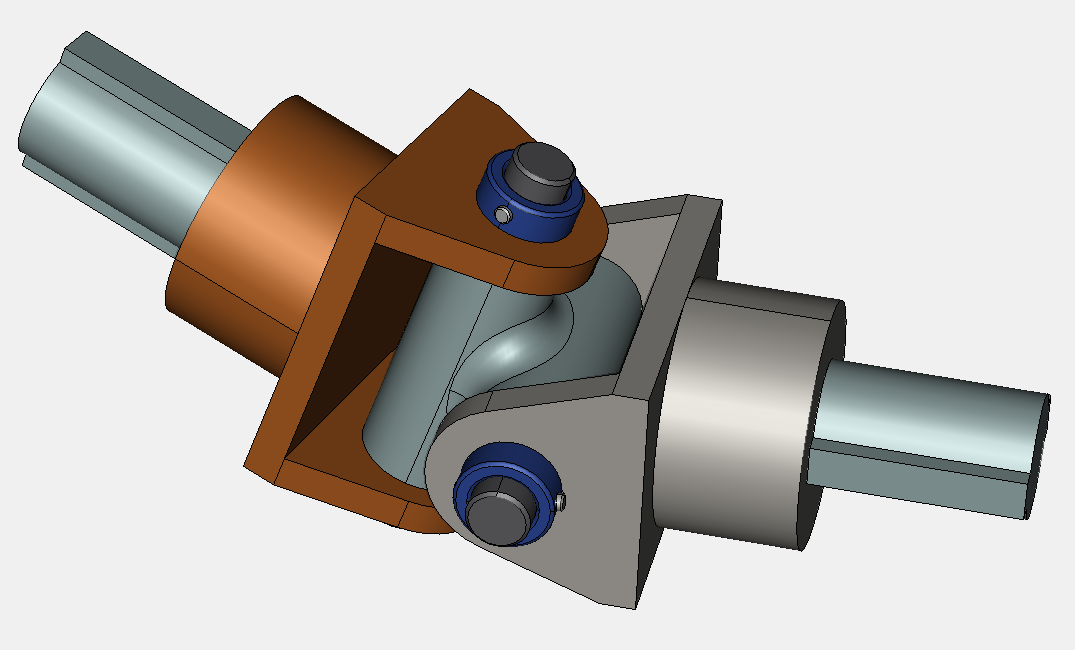
Pop-up Color Palette
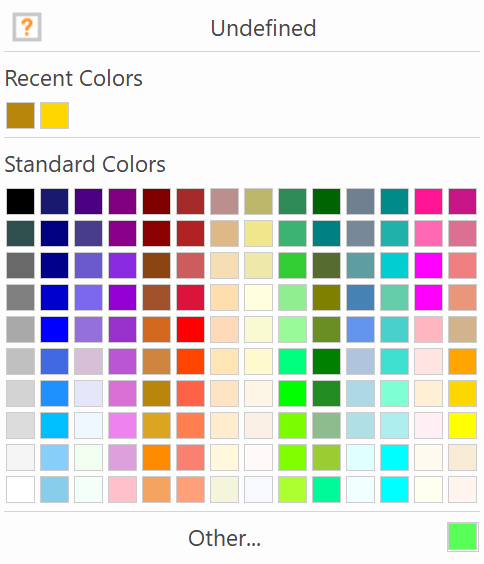
| The applied colors will be listed to the Recent Colors up to 14 colors. They will be retained until you exit the main application. |

| When you cannot find a color that you are looking for, click Other to specify a custom color. |

In the Colors dialog box, there are 2 tabs: Standard and Custom.


Important Notices on Changing the Part Color
A 3D Model part may have multiple colors in appearance. It depends on how that 3D Model part is created. Some face colors may not be able to be changed.
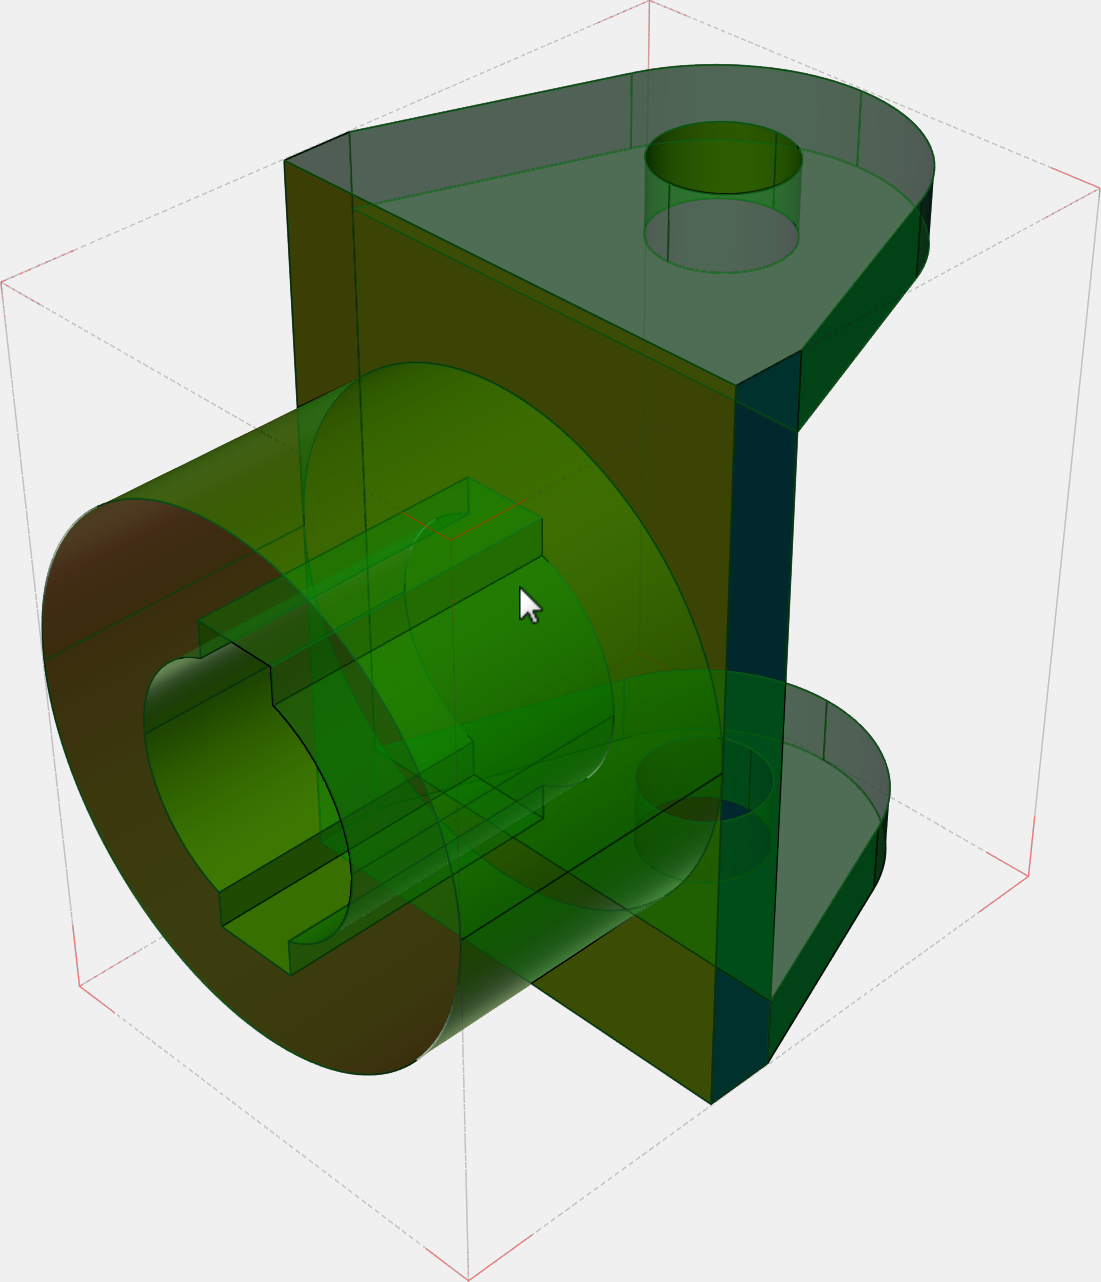
When you apply a new color to such a part, the entire part will be in that selected color.
|
|
|
One piece of part With multi-colors | Hover on the part – one piece | Green color is applied |